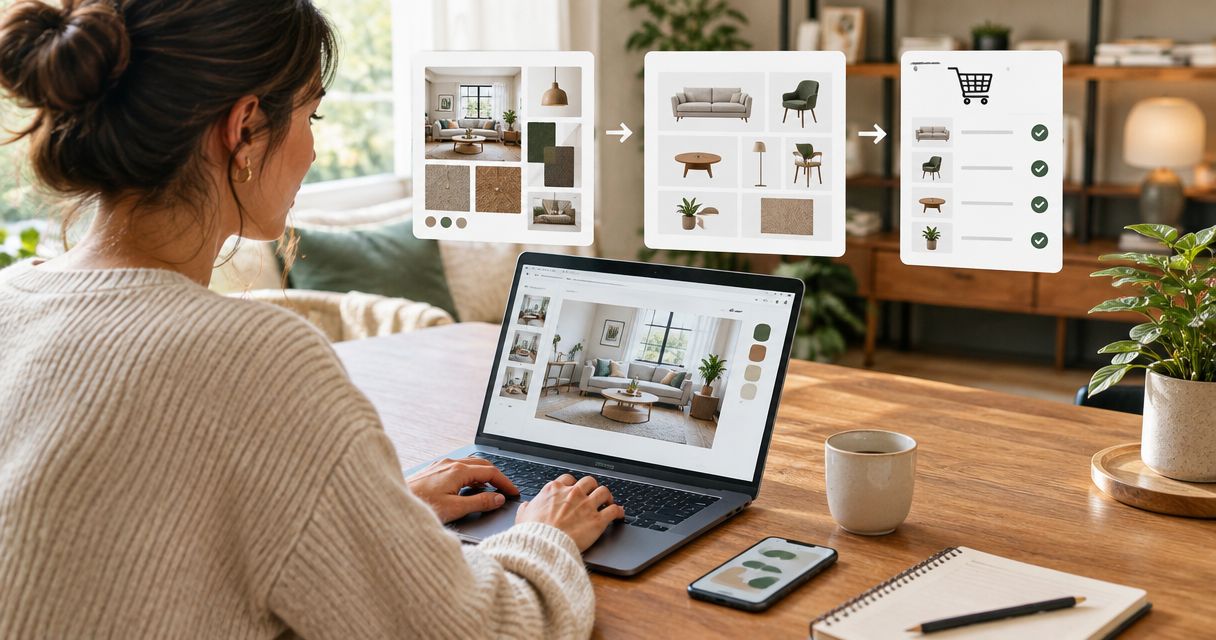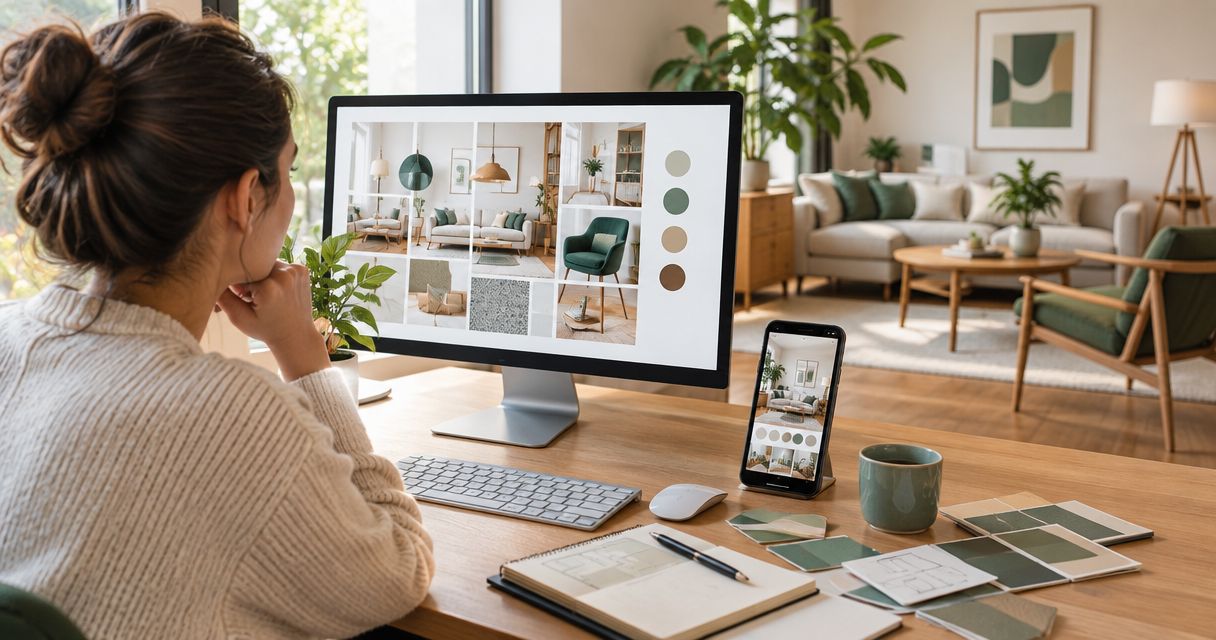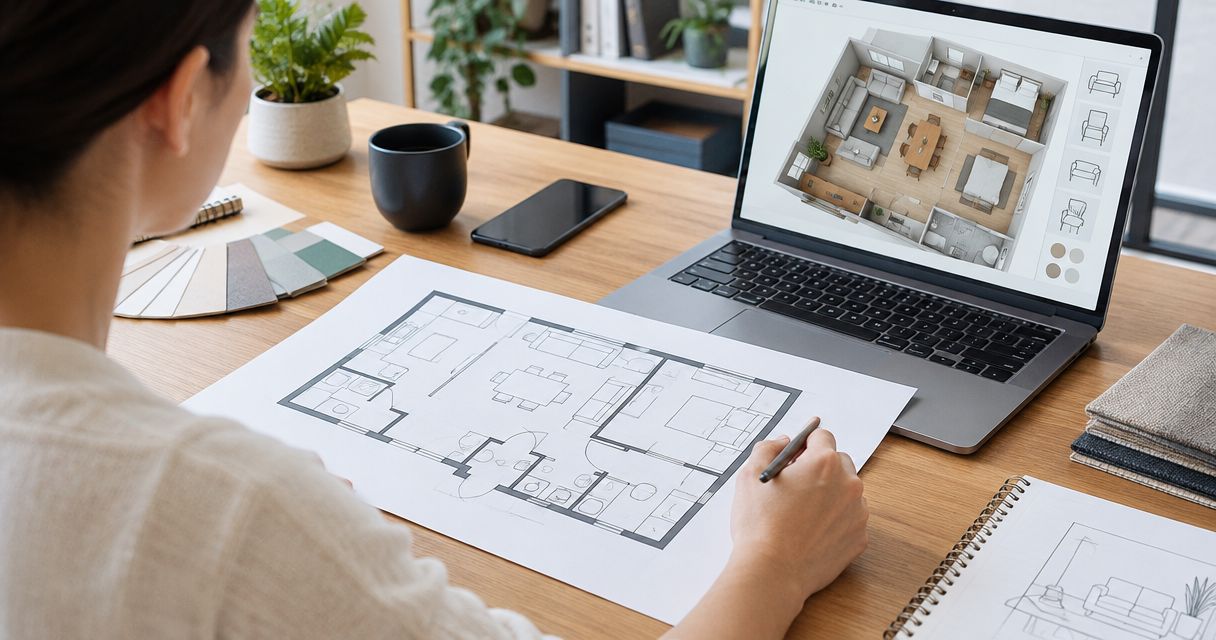
Instead of repeatedly moving furniture to see what fits, use a floor plan to furniture layout workflow that takes you from verified measurements to scaled furniture footprints and a full-size room test. For your 2026 project, settle the walking routes and daily activities before choosing the pieces that fill the room.
- A floor plan to furniture layout workflow starts with measured walls, door swings, and furniture footprints—not shopping.
- Oak + Loom Interiors suits homeowners seeking interior design support alongside curated home furnishings.
- Test circulation, chair movement, and delivery access before committing to a furniture layout.
- Keep one measured base plan and separate layout versions so changes remain easy to compare.
Why this matters
A sofa can fit along a wall and still block the route through a room. A dining table can fit its footprint while leaving no comfortable space to pull out a chair. Your plan needs to show both the furniture and what happens around it.
Oak + Loom Interiors is best for homeowners seeking interior design support alongside curated home furnishings. The Colorado Springs studio offers full-service and à la carte interior design, so you can explore a partnership that matches the scope of your project at Oak + Loom Interiors.
The useful starting point is not a finished-looking drawing. It is a measured plan that lets you reject an awkward arrangement before it becomes a room full of heavy furniture.
Before you start
- Gather your materials: a tape measure, paper, pencil, room photographs, and dimensions for furniture you intend to keep. Graph paper or a drawing application can hold the plan; no particular software account is required.
- Confirm access and scope: measure the room, its entry route, and any fixed features that affect placement. Decide whether you are arranging existing furniture, replacing selected pieces, or furnishing from scratch.
- Check the hidden gotcha: an existing floor plan is not a substitute for checking the room. Verify finished wall dimensions, trim, door swings, and projections before drawing furniture to scale.
Choose your planning method before you begin. Each option below can support the same workflow; the difference is how you make and review changes.
| Planning method | Best for | What it helps you do | Trade-off |
|---|---|---|---|
| Paper plan with movable cutouts | One room and hands-on comparison | Move furniture footprints without redrawing the room | Dimensions and revisions need manual tracking |
| Digital drawing | Repeated revisions or several rooms | Save alternate arrangements and reuse shapes | Scale, snapping, and object dimensions still need checking |
| Interior design partnership | Homeowners wanting help connecting layout and furnishing decisions | Review the room as a coordinated project | You still need to communicate priorities and approve decisions |
Choose the method you will keep accurate. A simple measured sketch is more useful than a detailed rendering with unverified dimensions.
Measured base plan
Establish the room boundaries
- Measure each wall segment, including recesses and projections. Record dimensions in one unit system rather than mixing feet, inches, and centimeters without conversion.
- Measure door and window positions from a consistent corner. Include opening widths, door swings, and relevant sill heights.
- Add fixed obstacles: fireplaces, built-ins, radiators, floor vents, and columns. Note outlets where they affect lamps or powered furniture.
- Draw the room to a stated scale. For example, at 1/4 inch on paper per 1 foot in the room, a 12-foot wall becomes 3 inches long. An 8-foot wall becomes 2 inches long. These are drawing examples, not room-size recommendations.
- Write Base plan — 2026 on your worksheet and retain an unchanged copy. Add the measurement date so you can distinguish it from an older drawing.
For an irregular room, check a diagonal as well as the wall lengths. If the drawing will not close without forcing a corner into place, recheck the measurements rather than adjusting the sketch to look tidy.
Expected result: you have a scaled outline showing the boundaries, openings, and fixed features that furniture must respect.
Separate facts from assumptions
Mark anything you have not verified as Needs checking. That includes a dimension taken from a listing photograph, a proposed renovation opening, or a furniture measurement you have estimated.
Do not give an assumption the same status as a measured wall. Resolve it before using that part of the plan to approve a purchase or a permanent installation.
Activity zones and furniture footprints
Define what the room needs to do
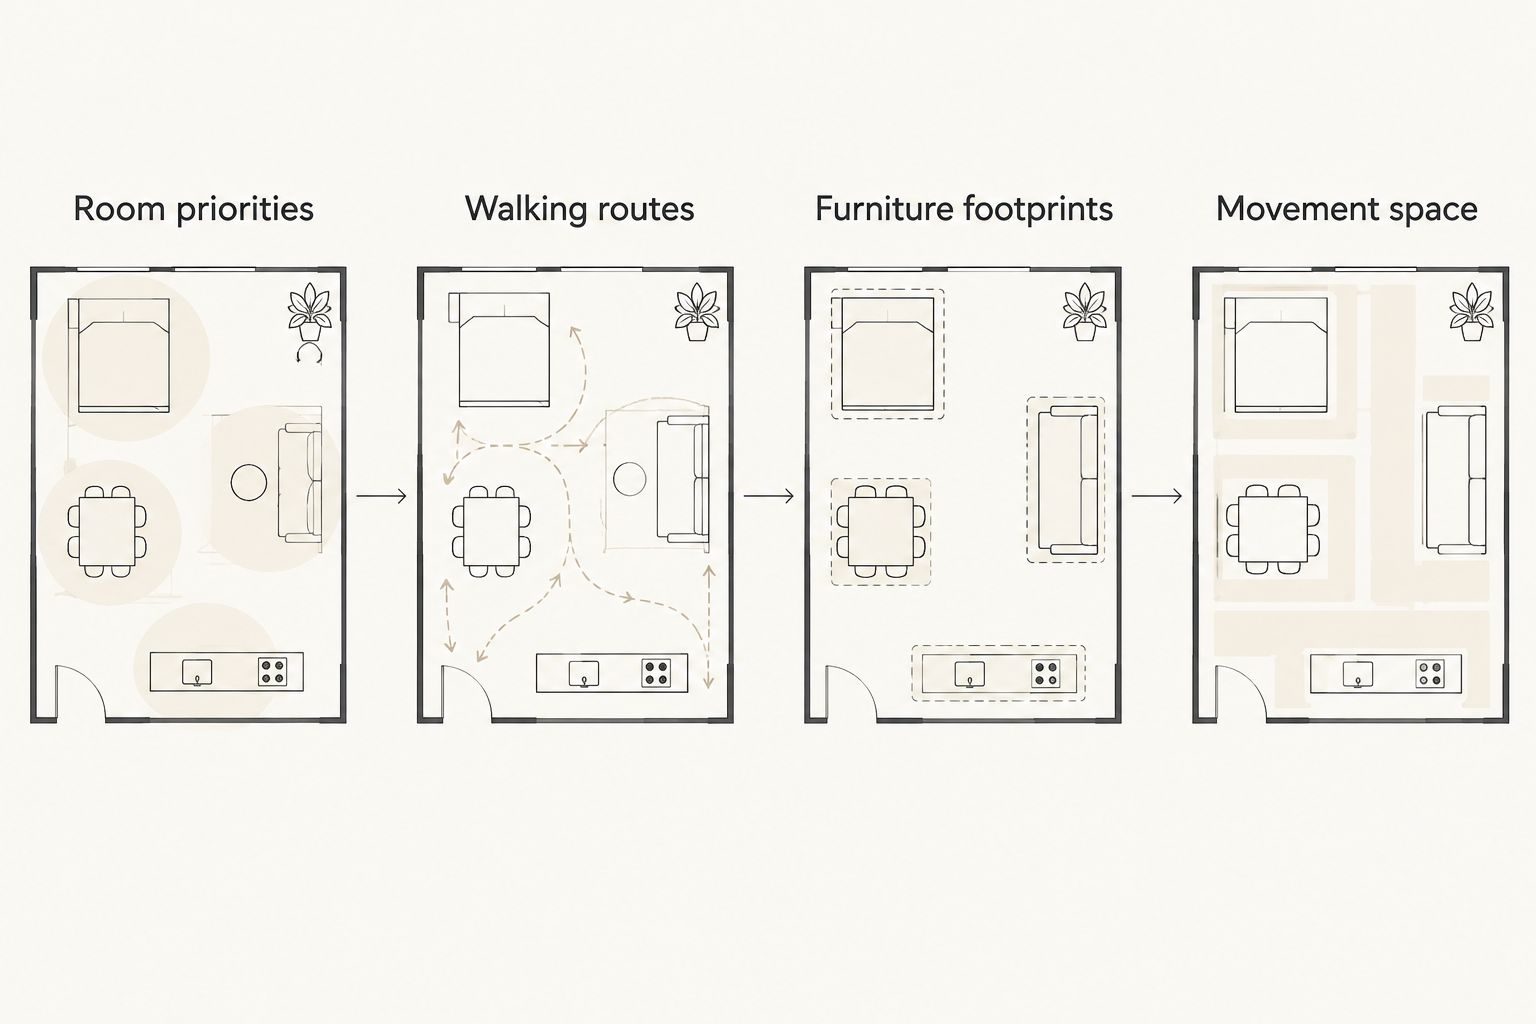
- Write Room priorities — 2026 above a short list of activities: conversation, reading, eating, working, or watching television. Put the essential activity first.
- Mark Walking routes between entrances, adjoining rooms, and frequently used storage. Keep these routes visible throughout the layout exercise.
- Mark Activity zones for the furniture groups that support your priorities. In an open room, distinguish the dining area from the seating area without assuming either needs a wall behind it.
- Add Furniture footprints using actual overall dimensions. Draw pieces you own first, then use clearly labeled placeholders for pieces not yet selected.
- Add Movement space around doors, drawers, dining chairs, and extending furniture. A closed cabinet and an open cabinet occupy different working areas.
Expected result: the plan shows where activities happen, how you reach them, and how furniture operates—not just where objects sit.
Build an arrangement around the anchor piece
Start with the largest piece that supports the room's main purpose. That might be the bed, dining table, sofa, or desk—not automatically the most decorative item.
Place supporting pieces around that anchor, then review the walking routes again. If every route bends around a table corner or passes between people having a conversation, change the arrangement before adding accessories.
Do not shrink a furniture outline to make a preferred arrangement work. Change the piece, the position, or the room's priorities instead.
Layout review and full-size testing
Compare arrangements without losing the original
- Duplicate the base plan or use a fresh tracing sheet. Label the first arrangement Layout A — 2026 and the alternative Layout B — 2026.
- Give each version a clear purpose, such as protecting a window view or improving the route to the kitchen. Avoid making several unrelated changes at once.
- Review both versions against the same questions: Can you enter comfortably? Reach storage? Open doors? Use the furniture without moving another piece?
- Check lighting and power. Identify where reading or work happens, and whether a proposed lamp location creates a cord across a walking route.
- Choose the arrangement that serves your essential activities. Keep the rejected version with a short note explaining why it did not work.
Expected result: you can explain the selected layout in terms of daily use rather than appearance alone.
Test the chosen arrangement in the room
Use a floor-safe temporary marking method to outline the main furniture footprints. Check the floor manufacturer's guidance before applying tape, and test any adhesive in an inconspicuous spot.
Walk the routes you use during an ordinary day. Carry a laundry basket through the doorway, pull out a dining chair, and open the storage you expect to reach. Use an existing chair to test a seating position rather than judging it only while standing.
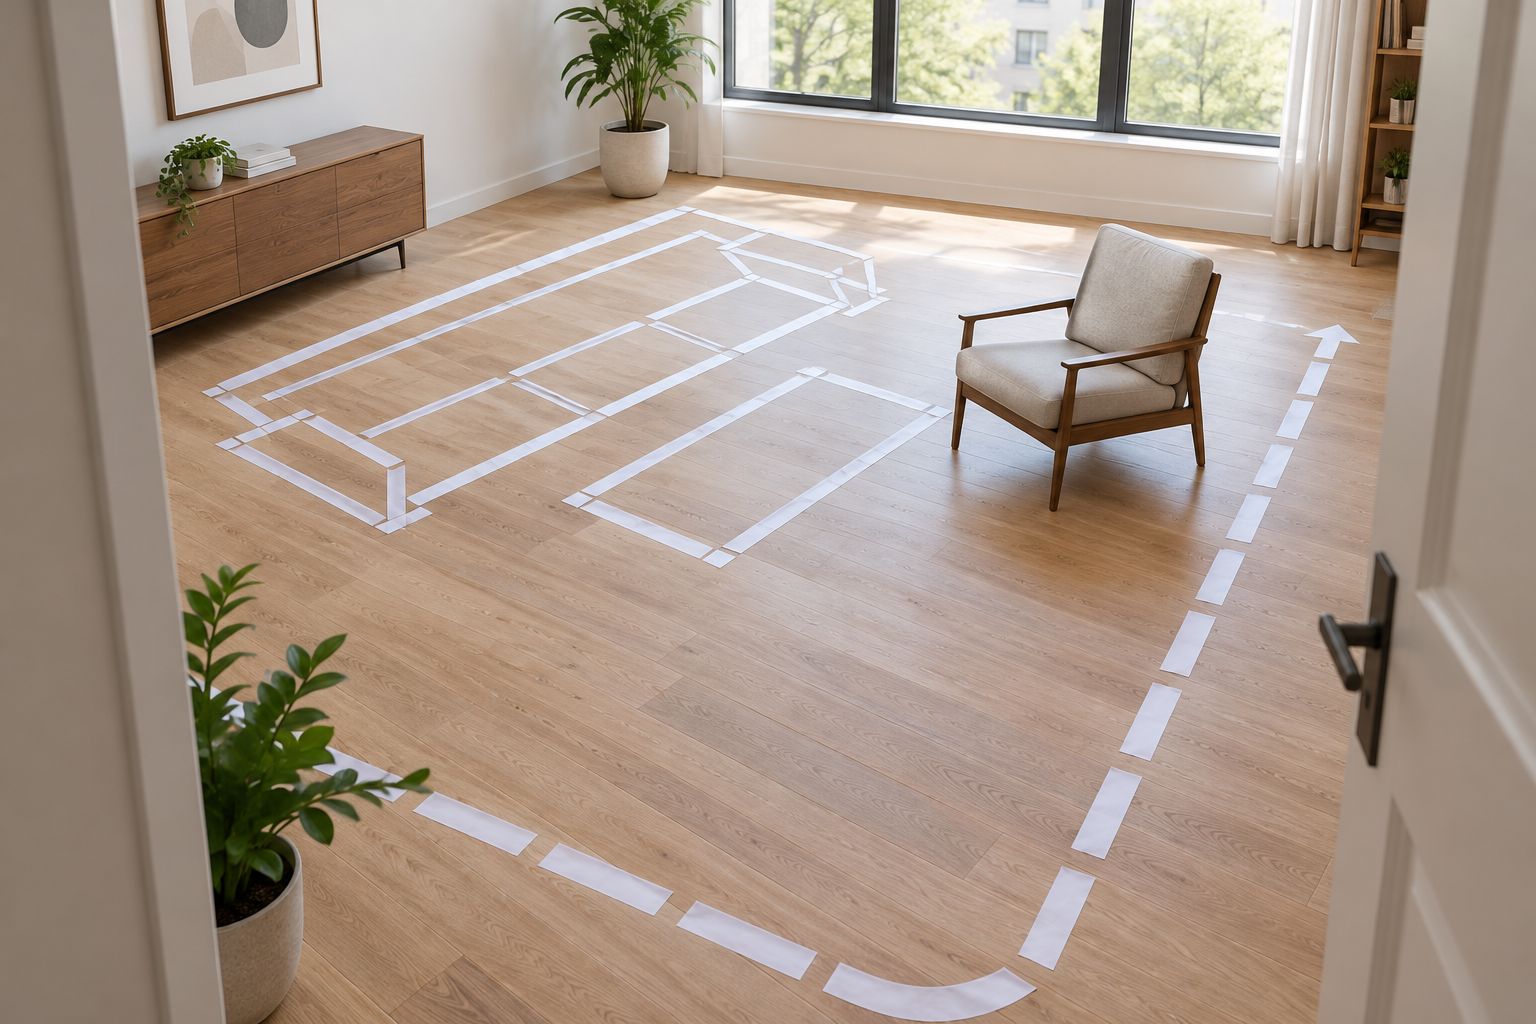
A floor outline does not show height, bulk, or sightlines. Check those separately using a side sketch or an existing object of similar height, and confirm the delivery route through doors, stairs, and turns.
Expected result: the selected plan works at full size, with unresolved measurements identified before furnishing decisions are finalized.
Update the layout when a furniture choice changes
You do not need to restart the room whenever a furniture selection changes. Keep the verified base plan and replace only the affected footprint.
First, record the replacement's overall dimensions. For reclining, extending, or rotating furniture, check its operating dimensions too. Then repeat the route, opening, lighting, and full-size checks around that piece.
A deeper sofa affects more than the space against its wall. It changes the relationship to the coffee table, the route behind the seating, and possibly the position of a lamp. Review those connected decisions before treating the substitution as complete.
Expected result: your updated layout remains tied to the same room measurements and priorities, with a clear record of what changed.
This variant also works when a renovation changes a wall or doorway. Verify the completed opening, update the base plan, and recheck every route that depends on it; do not keep using the pre-renovation outline.
Troubleshooting your furniture layout
The furniture fits, but the room feels crowded
Check movement space rather than footprints alone. Remove a secondary piece from the plan and test the room again; keeping every existing item is not a requirement of a successful arrangement.
The drawing and the room disagree
Recheck scale, units, and the location of your measurement endpoints. A dimension taken to the wall surface is different from the usable space between projecting trim or built-ins.
Doors or drawers collide with furniture
Show each opening in its working position. Move the conflicting piece and retest access, rather than treating the collision as something you will work around every day.
A lamp works visually but leaves a cord across the route
Move the lamp or reconsider the lighting arrangement. If the layout requires electrical changes, discuss the installation with a qualified electrician rather than planning around a loose cord in a walkway.
A piece fits the room but not the entry route
Check the manufacturer's delivery dimensions and assembly information against the narrowest openings and turns. Do not assume that removable legs or partial disassembly are possible unless the product information confirms it.
Customize your workflow
Once the layout works, add a furnishing schedule with plain fields: Item, Dimensions, Location, Keep or replace, and Open questions. These are worksheet labels you create, not software settings.
Attach material samples or reference images to the relevant item rather than keeping every idea in a separate inspiration folder. This makes it easier to see whether a new selection still supports the measured plan.
For a 2026 project involving several rooms, repeat the process room by room while checking the routes between them. If you want help connecting those decisions, review the interior design consultation services in Colorado Springs guide. Oak + Loom Interiors offers both full-service and à la carte design; clarify the work you want help with before deciding on scope.
FAQ
How do I turn a floor plan into a furniture layout?
Verify the room measurements, draw furniture footprints to the same scale, and preserve the routes between doors and everyday activities. Test the selected arrangement at full size before finalizing furniture choices.
Do I need software for a floor plan to furniture layout workflow?
No, paper and movable furniture cutouts can support the complete workflow. Digital drawing helps with repeated revisions, but it does not replace accurate measurements.
What furniture should I place first on a floor plan?
Place the largest piece that supports the room's main activity first. Add supporting furniture afterward, checking that the arrangement preserves walking routes and access to storage.
How much space should I leave around furniture?
Allow for the route and activity beside each piece, including opening doors, pulling out chairs, and using mobility equipment where relevant. Verify applicable accessibility requirements and test the arrangement rather than applying one clearance to every situation.
Can I use a real estate floor plan to arrange furniture?
Use a real estate floor plan as a starting outline, not as verified purchasing dimensions. Check the finished room, openings, trim, and fixed projections before scaling furniture.
Should I choose furniture or lighting first?
Establish the furniture layout before finalizing task-light positions, while recording existing electrical constraints from the start. Review both together before approving a layout that depends on electrical changes.
Can Oak + Loom Interiors help with only part of a room project?
Oak + Loom Interiors offers à la carte interior design as well as full-service design. Describe the room, the decisions already made, and the help you want so the project scope can be discussed.
One last thing
Test the action, not just the outline. A chair footprint shows where a chair rests; it does not show someone pulling it out and sitting down. Before calling your plan finished, rehearse the ordinary movement that each furniture group is meant to support.