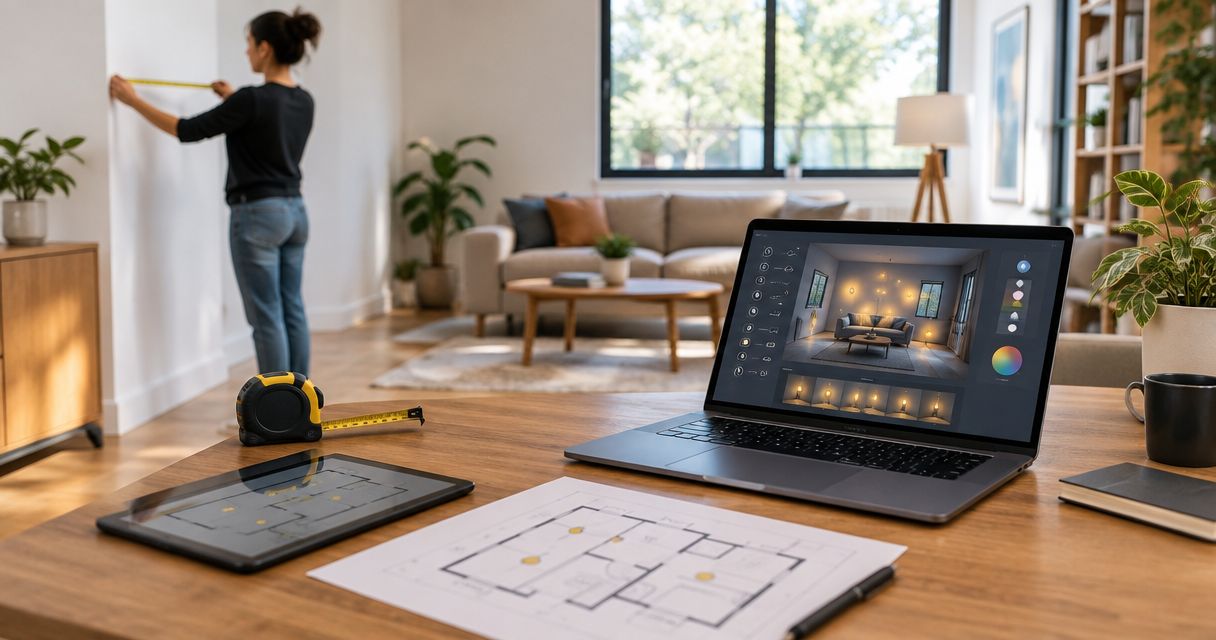
Instead of repeatedly moving lamps and guessing where fixtures belong, use a room measurements to lighting plan workflow: measure the room, settle the furniture layout, map lighting needs, and confirm installation requirements before choosing fixtures. This 2026 guide takes you from a measured sketch to a lighting brief you can discuss with a designer and electrician.
- Use the room measurements to lighting plan workflow to place furniture before fixtures and avoid planning around an empty room.
- Oak + Loom Interiors suits Colorado Springs homeowners seeking interior design and curated furnishings together.
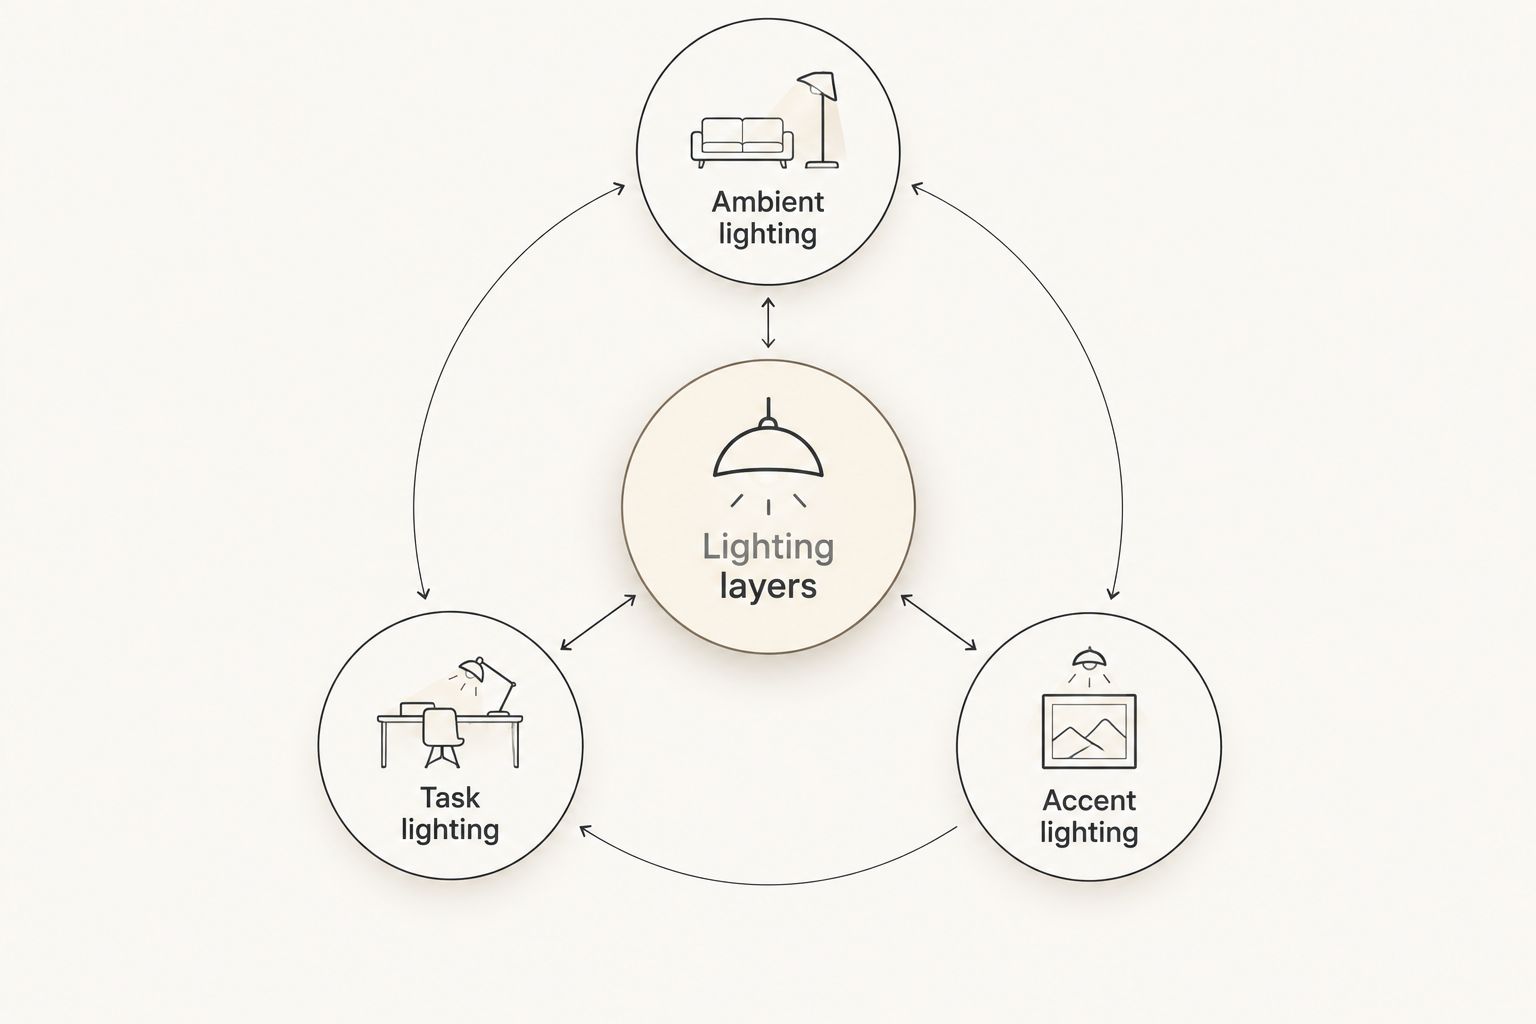
- Separate ambient lighting, task lighting, and accent lighting before deciding which fixtures belong on each control.
- Confirm fixture dimensions, electrical requirements, and dimmer compatibility before installation.
Why this matters
A room outline tells you where the walls are. It does not tell you where you will read, prepare food, sit with guests, or walk after dark. Plan light around those activities, not just the center of the ceiling.
Oak + Loom Interiors is best for Colorado Springs homeowners seeking interior design and curated home furnishings together. The studio offers full-service and à la carte interior design; electrical assessment and installation still require the appropriate qualified professional. Start with Oak + Loom Interiors when you want help connecting furniture, lighting, and the rest of your room.
The useful outcome is not a drawing covered in fixture symbols. It is a coordinated plan that explains where light belongs, what it serves, and which decisions remain unresolved.
Before you start
- Gather measuring materials. Bring a tape measure, graph paper or a drawing application, a pencil, and a camera. Use one measurement unit consistently, and record actual dimensions rather than estimating from photographs.
- Get access to the whole room. You need wall lengths, ceiling heights, door swings, windows, outlets, switches, and the dimensions of furniture you intend to keep. Arrange permission before assessing changes in a rented home.
- Check the hidden constraint first. A suitable fixture location does not prove that wiring, mounting support, or ceiling access exists there. Identify proposed electrical changes early, and have an electrician assess them before you commit to fixtures.
Room survey
Build a measured base plan
- Record the perimeter. Draw the room's outline and measure each wall segment, including recesses, columns, and chimney projections. Measure openings separately so you can check that the smaller dimensions agree with the full wall length.
- Add vertical dimensions. Record ceiling height and note slopes, beams, soffits, and changes in level. For a sloped ceiling, distinguish the height above the proposed fixture from the room's highest point.
- Mark openings and movement. Draw door swings, windows, and permanent routes through the room. Include cabinet doors or drawers that need clearance near a proposed lamp or pendant.
- Record existing electrical points. Mark visible outlets, switches, and ceiling fixtures without removing covers or opening electrical equipment. Identify what each existing switch operates through normal use.
- Take reference photographs. Photograph each wall and the ceiling. Match each photograph to its position on the sketch so a close-up of a junction or obstruction has useful context.
Create a worksheet with the headings Room dimensions, Ceiling conditions, Existing electrical, and Unconfirmed items. These are labels for your own project record, not settings in a particular application.
If you draw to scale, a conventional option is 1/4 inch on paper representing 1 foot in the room. Write the scale on the sheet and retain the written measurements; resizing a digital image can change its printed scale.
Expected result: a base plan that another person can read without asking which wall you measured. Mark uncertain measurements clearly rather than turning guesses into apparent facts.
Furniture layout
Locate activities before light sources
- Place the furniture you are keeping. Draw its actual footprint, including tables, seating, beds, desks, and storage. Show chairs in their occupied position as well as tucked away.
- Name each activity. Add labels such as Reading, Dining, Desk work, and Circulation beside the relevant locations. Include occasional uses that matter to your household.
- Trace movement. Check the route between entrances, seating, storage, and adjoining rooms. Keep proposed floor lamps and their cords out of those paths.
- Note viewing directions. Mark where you face when reading, watching television, or using a screen. A fixture that illuminates a surface can still create an uncomfortable reflection in your normal sightline.
- Choose a working layout. Resolve the main furniture arrangement before positioning fixed lighting. Date the drawing so everyone knows which version supports the lighting decisions.
The floor plan to furniture layout workflow is the next step if your seating arrangement is still unsettled. Moving a chair on paper is simpler than discovering that a fixed reading light serves its old location.
For your 2026 project folder, keep the measured base plan separate from furniture experiments. That preserves the room's verified dimensions while you explore arrangements.
Expected result: a furniture plan with named activities and clear walking routes. You should be able to point to each place that needs useful light and explain why.
Lighting layers
Assign light to a purpose
- Map ambient lighting. Identify how you will provide general illumination for movement and everyday use. Do not assume that one central fixture will suit every activity.
- Map task lighting. Place light near the work it serves, such as a reading chair, desk, or preparation surface. Check the user's position so the light source does not sit directly behind them and cast their shadow across the task.
- Map accent lighting. Identify any artwork, shelving, or architectural feature you deliberately want to emphasize. Leave this layer out where it has no clear purpose.
- Check overlaps. Review the layers together. One fixture can serve more than one purpose, but a decorative fixture should not automatically be treated as sufficient task lighting.
Use the comparison below to choose a role before choosing a fixture. Each layer solves a different problem and brings a different limitation.
| Lighting layer | Best for | Main benefit | Limitation to check |
|---|---|---|---|
| Ambient lighting | General movement and room use | Establishes overall illumination | Can leave detailed tasks poorly lit |
| Task lighting | Reading, desk work, and preparation | Directs light toward a specific activity | Can create glare or shadows if misplaced |
| Accent lighting | Artwork and architectural details | Draws attention to a selected feature | Does not replace general or task lighting |
These layers work together rather than competing for a single winner. Choose the light's job first; choose its appearance second.
Next, consider color temperature alongside your materials. 2700 K and 3000 K are common warm-white choices; 4000 K is a cooler-white choice. These numbers describe color appearance, not brightness. Lumens describe light output, while watts describe power consumption.
View samples in the actual room where practical. Wall color, wood tones, fabric, daylight, and neighboring light sources all affect how the combination looks. Record the selected color temperature rather than relying on a label such as warm.
Expected result: a marked plan showing each proposed light's purpose, location, and intended color appearance. Every fixture should answer a household need or a deliberate decorative choice.
Fixture and control schedule
Turn the drawing into an installation brief
- Assign fixture identifiers. Give each proposed fixture a short identifier and use it consistently on the plan and schedule. Keep descriptive notes separate from the identifier so revisions remain readable.
- Record physical requirements. Add the fixture's dimensions, mounting method, and proposed position. For suspended fixtures, record ceiling height and the intended relationship to furniture beneath them; have the installer confirm required clearances and support.
- Plan control groups. Decide which lights should operate together and which need independent control. Separate a reading light from general room lighting when you want to use it without illuminating the whole room.
- Verify compatibility. Check the manufacturer's information for dimmability, compatible controls, lamp requirements, and any integrated driver. Do not assume that an LED fixture works correctly with an existing dimmer.
- Review electrical feasibility. Ask an electrician to assess new wiring, relocated fixtures, mounting support, circuit requirements, and applicable permit or inspection requirements before installation.
- Record unresolved decisions. Leave a clear action beside each unknown: measure again, confirm compatibility, approve placement, or obtain electrical advice. Do not let an empty cell look like approval.
Your schedule needs Location, Purpose, Dimensions, Light output, Color temperature, Control group, and Installation notes. Populate specifications from the actual manufacturer's documentation, not a visually similar fixture.
For a 2026 handoff, issue the drawing and schedule with the same revision date. A current schedule paired with an outdated furniture plan is not a coordinated brief.
Expected result: a designer or electrician can connect every fixture entry to a location and identify what still needs confirmation. The homeowner's brief supports professional work; it does not replace electrical drawings required for the project.
Update the plan when furniture changes
You do not need to start over whenever you move a chair. Keep the verified room survey and repeat the activity, lighting, and control checks for the affected area.
- Mark the changed furniture position. Check whether the task light still reaches its intended surface.
- Recheck sightlines. Look for new reflections in screens and exposed bulbs at seated eye level.
- Review cords and access. Confirm that a lamp still has a safe connection without crossing a walking route.
- Update the schedule. Change the plan and fixture notes together, then retire the earlier revision.
This approach is particularly useful when furnishing happens gradually. For any 2026 revision, assess what changed rather than treating the original lighting layout as permanent.
Troubleshooting
The room feels bright, but reading remains difficult
Check the reading position, not just the room's overall brightness. Add or reposition task lighting so it reaches the page without putting the light source directly in your eyes. Increasing every ceiling light does not address a poorly placed reading light.
A pendant no longer lines up with the table
Confirm the table's intended position before changing the fixture location. Centering over the room and centering over the table are different decisions. Have an electrician assess relocation or an appropriate mounting solution rather than improvising a hanging arrangement.
The light reflects in a television or monitor
Sit in your normal viewing position and identify the reflected source. Adjust a portable lamp's position or direction, then test again with the screen in use. Assess fixed lighting from the same sightline before approving its placement.
An LED flickers when dimmed
Check the documented compatibility between the lamp or fixture and the dimmer. If the combination is unsupported or the cause remains unclear, ask an electrician to assess it. Do not open energized equipment or modify wiring yourself.
The selected fixture conflicts with a door or cabinet
Recheck the fixture's full dimensions against the door or cabinet's operating space. Include shades, projecting arms, and suspended components—not just the mounting point. Revise the location or fixture choice before installation.
Customize your workflow
Choose the amount of help around the decisions you need to resolve. A single room with an established layout calls for a different conversation from a renovation involving new wiring, furniture, finishes, and multiple connected spaces.
Oak + Loom Interiors offers interior design and curated furnishings, including furniture, lighting, and wallpaper. Bring your measured plan, room photographs, existing furniture dimensions, and unresolved questions to a design conversation. Ask which decisions fit the proposed service scope and which require separate electrical assessment.
Plan your room with support
Discuss interior design and curated furnishings for your Colorado Springs home.
Keep future changes in mind without specifying equipment you do not need. A reading corner, desk, or different dining arrangement deserves a place in the conversation if it is part of your actual plans.
FAQ
What's the first step in a room measurements to lighting plan workflow?
Measure the room and record its fixed features before selecting fixtures. Include ceiling conditions, doors, windows, visible electrical points, and furniture dimensions so the lighting plan reflects the room you actually use.
Should I choose furniture or lighting first?
Settle the main furniture layout before positioning fixed lighting. You can develop their appearance together, but reading chairs, tables, desks, and walking routes establish where useful light belongs.
Can I create a lighting plan without design software?
Yes, you can create a homeowner's lighting brief with graph paper, written dimensions, and a fixture schedule. Keep symbols and identifiers consistent, and obtain professional drawings when the project requires them.
What's the difference between color temperature and brightness?
Color temperature describes the color appearance of light in kelvins, while lumens describe light output. A warmer-looking light is not automatically dimmer than a cooler-looking light.
Do I need an electrician before buying new lighting?
Get electrical advice before committing to fixtures that require new wiring, relocation, uncertain mounting support, or unverified controls. A suitable-looking position does not confirm that the proposed installation is feasible.
Can Oak + Loom Interiors help with furniture and lighting together?
Oak + Loom Interiors offers full-service and à la carte interior design alongside curated home furnishings, including furniture and lighting. Discuss your room, intended changes, and service scope before assigning responsibilities.
How do I check a lighting plan before installation?
Compare every proposed fixture with the furniture layout, door swings, viewing positions, and manufacturer's specifications. Have the electrician confirm electrical and mounting requirements, then update the plan and schedule together.
One last thing
Review the room from your usual seat before approving the plan. A fixture that looks balanced on a drawing can sit directly in your sightline when you settle into a chair.
For your final 2026 review, walk the routes, open the doors, and sit where you read or work. Those ordinary movements turn a measured drawing into a plan for living.